Planning a wedding in Kenya can be both exciting and overwhelming, especially when you’re trying to balance your budget without compromising on the vibe of the day. If you’re here, chances are you’ve already thought about DIY-ing the wedding program to save some coins or just to add that personal touch.
Happy to report that you’re in the right place!
Your wedding program doesn’t have to be one of those stress-inducing tasks. You don’t need to go all out with some over-the-top, Tik-Toker-level production. Sometimes, simple is sleek, and sleek is what you need.
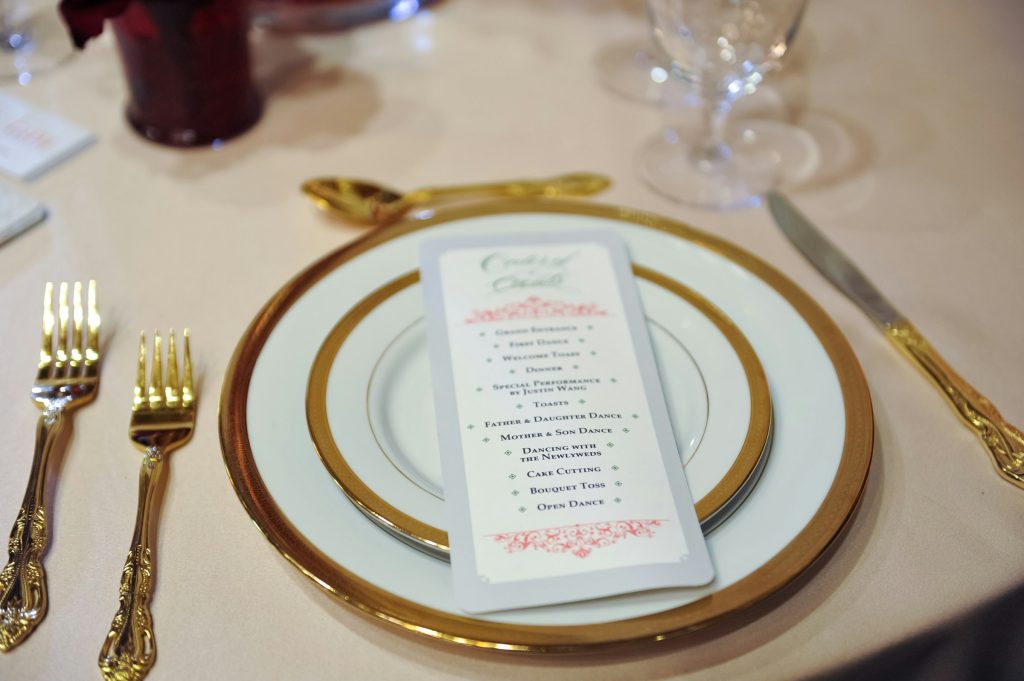
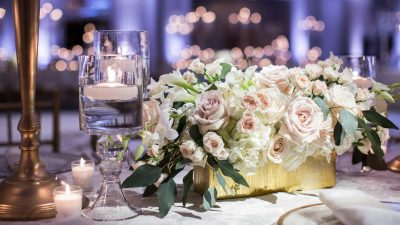
Photo by Zetong Li on Unsplash
Whether you’re doing this to cut costs, to flex your creative muscles, or just because you enjoy the DIY life, creating a wedding program for a Kenyan wedding is something you can totally handle. And this guide is here to break it down for you, step by step.
We’re talking about a simple, elegant, and functional wedding program that will keep your guests in the loop without turning to Tala. So, grab a pen, your laptop, or just your phone, and let’s get into it.
Step-by-Step DIY Wedding Program
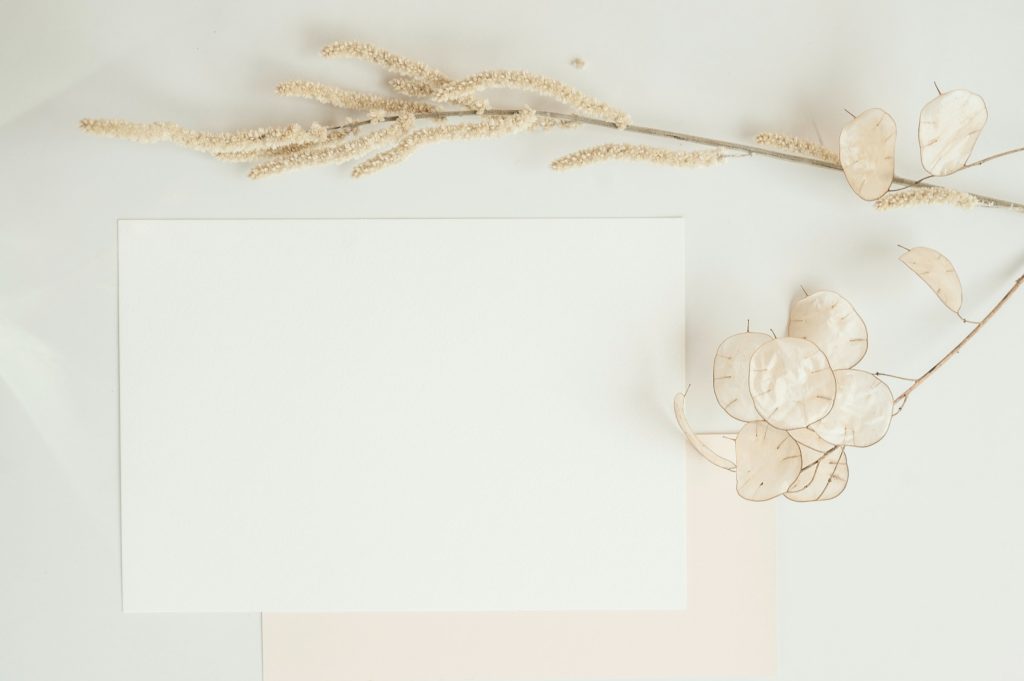
Photo by Elena Joland on Unsplash
Now that you’re ready to create your wedding program, let’s talk options. You’ve got two solid choices, depending on your vibe and skills. Option one: go full DIY and make it by hand.
We’re talking cardstock, glue, markers, and maybe even some glitter if you’re feeling fancy. It’s hands-on, personal, and perfect if you love crafts.
Option two: design it yourself on your laptop or phone, then take it to your local printer. This one is for the tech-savvy crew who want it sleek and professional.
Learn more about each below:
Option 1: DIY Wedding Program by Hand
If you’re the type who loves getting your hands dirty (literally), this option is for you. Making your wedding program by hand is not only budget-friendly but also adds a personal touch that your guests will notice. Here’s how to do it:
Step 1: Gather Your Materials
For a simple wedding program, you’ll need thick paper, scissors, glue, markers or pens, a ruler, and some decorative items like ribbons, stickers, or glitter. You can find most of these items at your local stationery shop, Kamukunji, China Square, or even online. Additionally, if you’re not sure about colors, stick to neutral tones like white, cream, or pastels.
Step 2: Draft Your Design
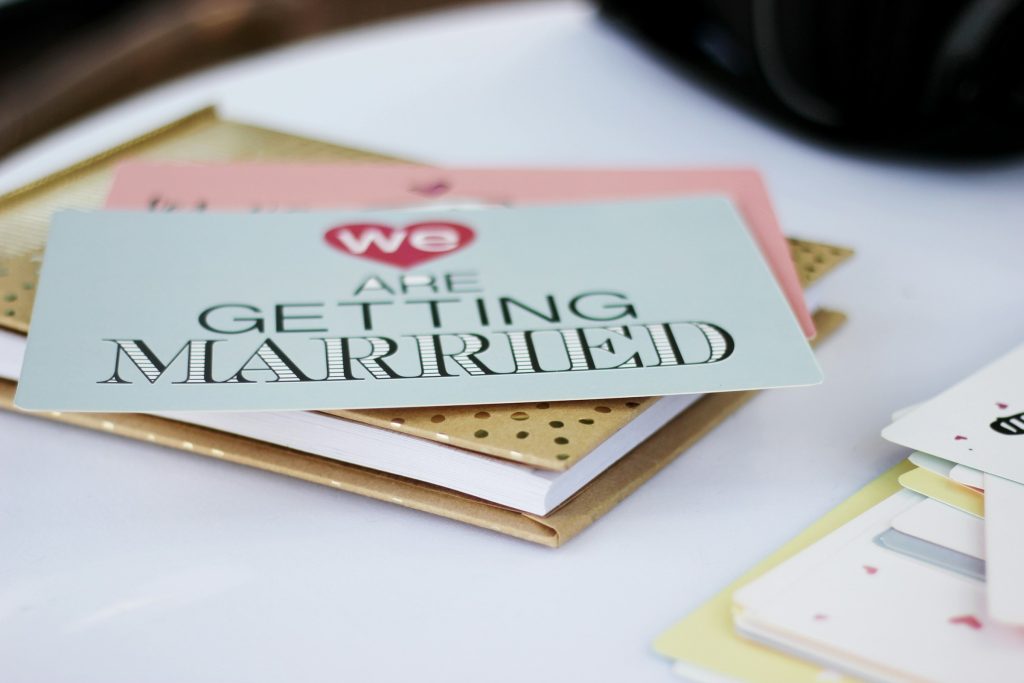
Photo by micheile henderson on Unsplash
Next, plan how your wedding program will look. Will it be a single sheet folded into a booklet, or a simple card?
Use your pencil to sketch out where the names, order of events, and any special messages will go. Keep it clean and simple.
Additionally, refer to your wedding planning checklist to ensure you include all the key details like the processional, vows, and reception timeline.
Step 3: Write and Decorate
Now comes the fun part—writing and decorating! Use your best handwriting (or ask that one friend with the fancy handwriting) to fill in the details.
If you’re not confident in your writing skills, you can print the text and glue it onto the card. Furthermore, add some simple decorations like a ribbon border, a small flower drawing, or even a sticker with your wedding date.
Remember, less is more.
Step 4: Assemble and Finalize
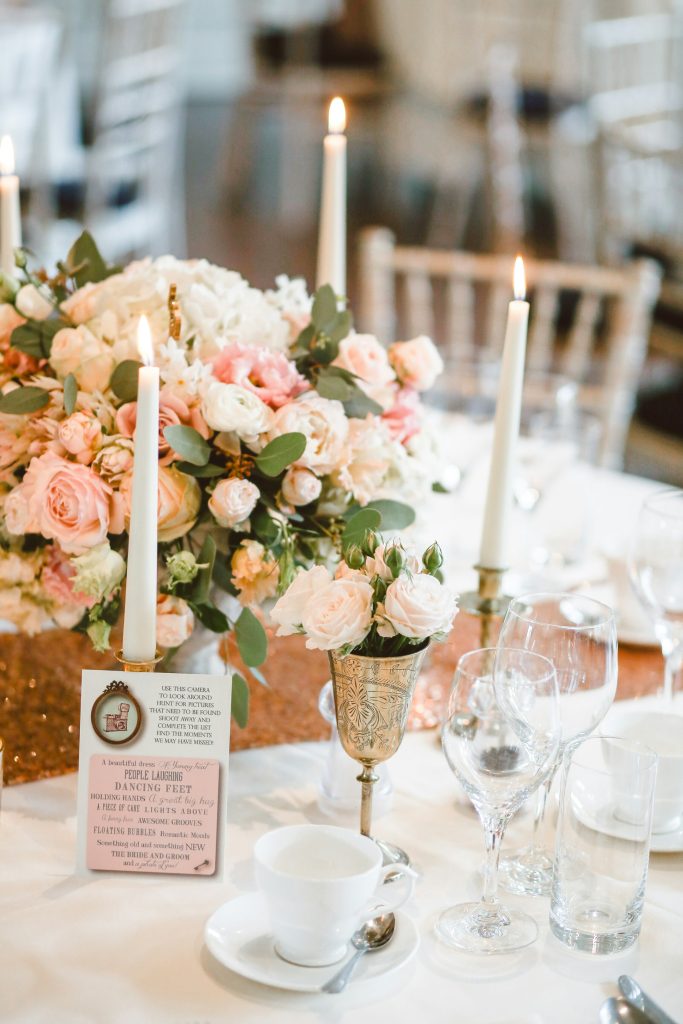
Photo by Thomas William on Unsplash
Once everything is written and decorated, it’s time to assemble. Fold your card neatly if you’re making a booklet, or stack the pages if it’s a multi-sheet program. Use a ruler to ensure everything is aligned.
Additionally, double-check for any mistakes or smudges. If you’re feeling fancy, you can tie a ribbon around the program for that final touch.
Voila! Your handmade wedding program is ready to impress.
Pros and Cons:
The beauty of this method is that it’s affordable, personal, and gives you full creative control. Plus, it’s a great way to involve your friends and family in the wedding planning process.
However, it can be time-consuming since you have to make every program by hand. In addition, if you’re not careful, it might end up looking a bit “homemade.” But hey, if you’re going for that authentic, heartfelt vibe, this is the way to go.
Option 2: Designing Your Wedding Program for Print
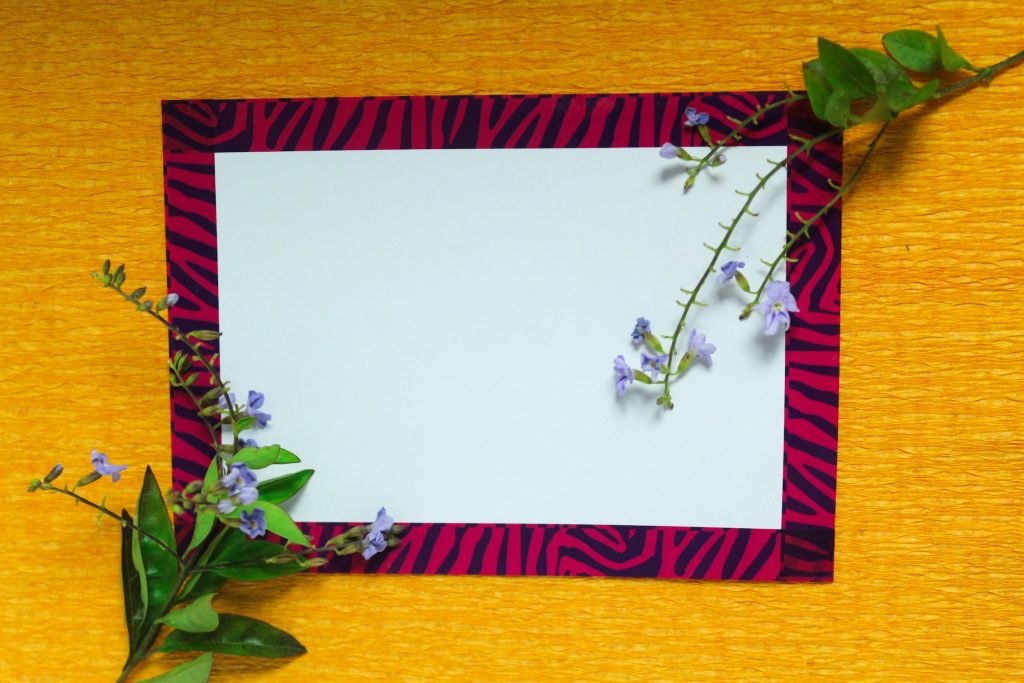
Photo by Tamanna Rumee on Unsplash
If you’re not into cutting and gluing but still want to DIY your wedding program, this option is for you. Designing it yourself and taking it to print is a great middle ground—it’s professional-looking but still budget-friendly.
Step 1: Choose Your Design Tool
First, you need a tool to design your wedding program. Don’t worry, you don’t need Photoshop skills. Free and easy-to-use tools like Canva, Microsoft Word, or even Google Docs will do the job.
Additionally, these platforms have templates that can save you time. Just pick a design that matches your wedding vibe—whether it’s traditional like ruracios, classic church weddings, or civic style. Pro tip: Stick to one or two fonts and colors to keep it clean and classy.
Step 2: Plan Your Layout
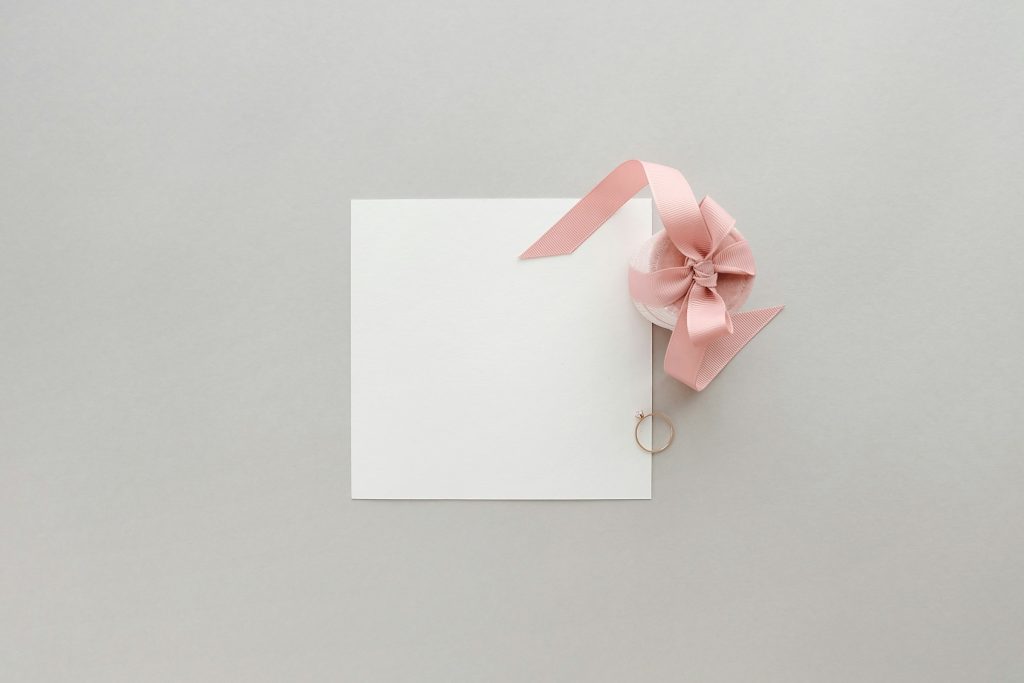
Photo by Katsia Jazwinska on Unsplash
Before you start typing, plan how your wedding program will look. Will it be a single page, a folded booklet, or a multi-page program?
Use your wedding planning checklist to include all the key details: the order of events, names of the speakers, and any special messages.
Furthermore, leave some white space to avoid making it look too busy. Remember, simplicity is key. You don’t want your shosho squinting to read tiny text.
Step 3: Add Your Content
Now, start filling in the details. Include the ceremony timeline, names of the couple, and any acknowledgments. Additionally, you can add a short thank-you note or a quote that’s meaningful to you.
If you’re stuck, Google some examples for inspiration. Always proofread everything twice—or even thrice. You don’t want typos ruining your perfect wedding program.
Step 4: Finalize the Design
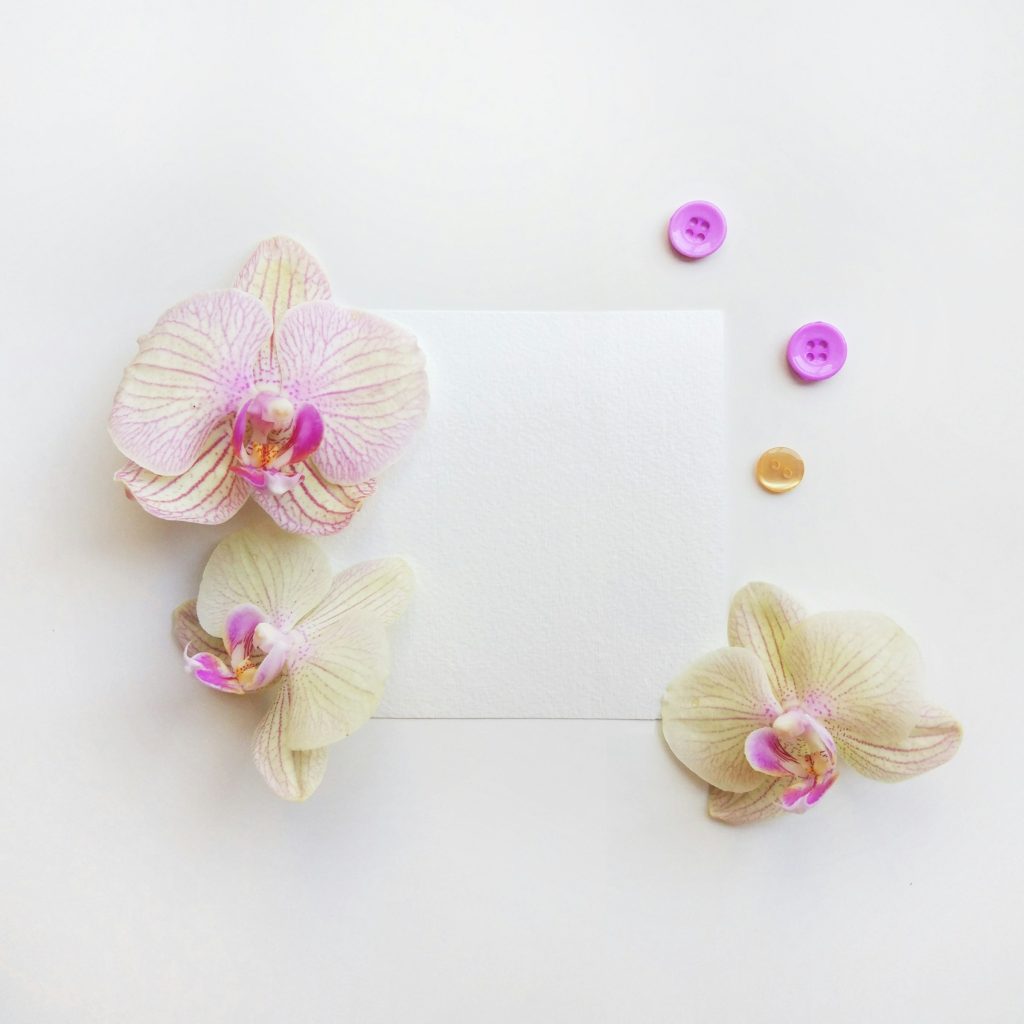
Photo by Lumitar on Unsplash
Once your content is in place, tweak the design to make it pop. Add simple decorations like borders, icons, or a monogram of your initials.
Furthermore, ensure the text is aligned and the colors are consistent. If you’re using Canva, you can even add a subtle background pattern or image. Just don’t go overboard—keep it elegant and easy to read.
Step 5: Print and Assemble
When you’re happy with the design, save it as a PDF (this ensures the formatting stays intact) and take it to a trusted printer.
Always ask your guy for a sample print first to check the colors and paper quality. Once printed, you can fold or bind the programs as planned. Ask if they can add a ribbon or a wax seal for that extra touch.
Pros and Cons
Photo by Mediamodifier on Unsplash
Designing your wedding program for print is a great option if you want a polished look without spending too much. It’s also faster than doing everything by hand.
However, it requires some basic tech skills, and you’ll need to factor in printing costs. But hey, if you want something that looks pro without the pro price tag, this is the way to go.
Final Thoughts: DIY Wedding Programs; A Touch of Personality!
And there you have it—two simple, budget-friendly ways to create a wedding program that’s as unique as a love story.
Whether you’re the crafty type who loves gluing and glittering or the tech-savvy designer who prefers clicking and printing, the power is in your hands.
Remember, the wedding program doesn’t have to be perfect; it just has to reflect the day. So, grab your tools, rally your squad, and get to work.